Holograms!
Abby Alem and Charlotte Sekerka
Physics 174: Contemporary Experimental Physics – Spring 2026
May 12, 2026
Abstract
We created transmission holograms for a variety of reflective objects. Throughout this process, we learned about the two types of holography and about film development. We imaged shiny coins, beginning with a simple setup to figure out the angles and exposure time necessary to produce a strong hologram. We wanted to capture more depth and resolution, so we created a more complex setup and found that our resolution did increase.
Introduction
What is a hologram?
A hologram is a recording of the light field of a scene that allows us to create a 3D reconstruction of the object we are imaging. The key is to produce an interference pattern (which records both the light’s amplitude and phase, not just the amplitude like a typical camera) using two beams: a reference beam, which illuminates the film, and an object beam, which illuminates and reflects off the object being imaged. When these two beams interfere with each other at the interface of the film, they produce a complex map of fringes that encode the behavior of the light at every point in the scene – a diffraction grating. Once the exposed film is developed, the hologram can be viewed by shining the same reference beam onto it to recreate the original light field, and this light passes through the diffraction grating to produce a full, 3D reconstruction of the object!
Holography, with its ability to record objects in 3D, is incredibly valuable for data storage and scientific imaging. It has a variety of applications in microscopy, biomedical imaging, fluid dynamics, and other fields. It is also used to create variable security and anti-counterfeiting features in driver’s licenses, passports, and $100 bills (you may see the image overlays or embedded films that change appearance when you tilt one of these objects).
Theoretical Background
Since a hologram encodes the specific amplitude and phase of light at every point on the film, there are a few things that are necessary for producing a proper hologram. First, the light source must be coherent (meaning that the phase of the waves must be spatially and temporally fixed) and must be the same source for both the reference and object beams. This ensures that the wavelength and intensity of the light is uniform, which are necessary controls for creating a proper interference pattern. Second, the beam-splitter must be non-polarizing, since polarization is one of the key features that the hologram encodes. Third, vibrations are a major issue in holography. Since holograms record nanoscale behavior, any movement on the order of the wavelength of light will affect the interference pattern, which may make it impossible to see the hologram. People walking around outside the room, cars driving on the road, breathing – there are many possible causes for vibrations, and an optical table mitigates some of these issues; nevertheless, it is still difficult to keep vibrations to a minimum.
When exposing the film, the electromagnetic field incident at every point on the film is simply the sum of the reference and object fields, given by:

where r is the phase of the uniform reference beam and o(x,y) is the spatially-dependent phase of the light scattered off the object. (1) shows how the fields interfere constructively and destructively with each other at the interface of the film.
The intensity of the light incident on the film is

where Etot* is the complex conjugate of Etot.
Since the hologram is viewed by shining the same reference beam through the exposed film, the field that passes through the diffraction grating can be written as

where T is the transmitted light (the light that passes through the grating) and t is the film’s transmission coefficient. Rearranging (3), we get

(4) reveals that illuminating the film with the initial reference beam produces three distinct terms: 1, the undetected portion of the reference beam; 2, the part of the transmitted field that reproduces the amplitude and phase of the original light scattered of the object, thus reconstructing a real image of the object; and 3, the part of the transmitted field with a different phase that reconstructs a conjugate image of the object, which can be viewed from the other side of the film.
With this theoretical background, one can make a hologram rather simply. An important thing to keep in mind, however, is how long to expose the film. Underexposure and overexposure can make the hologram impossible to see, so the first step is to determine the ideal exposure time. Many things can influence exposure time (laser power, light intensity, path length, age of the film etc.), so it is helpful to have a setup with as few moving parts as possible. This is why we begin with the simple setup shown below in Figure 1. The laser shines through a microscope objective, which spreads the light onto a mirror. The light is then reflected off the mirror and onto the object, on top of which the film sits. A shutter controls how long the light exposes the film.

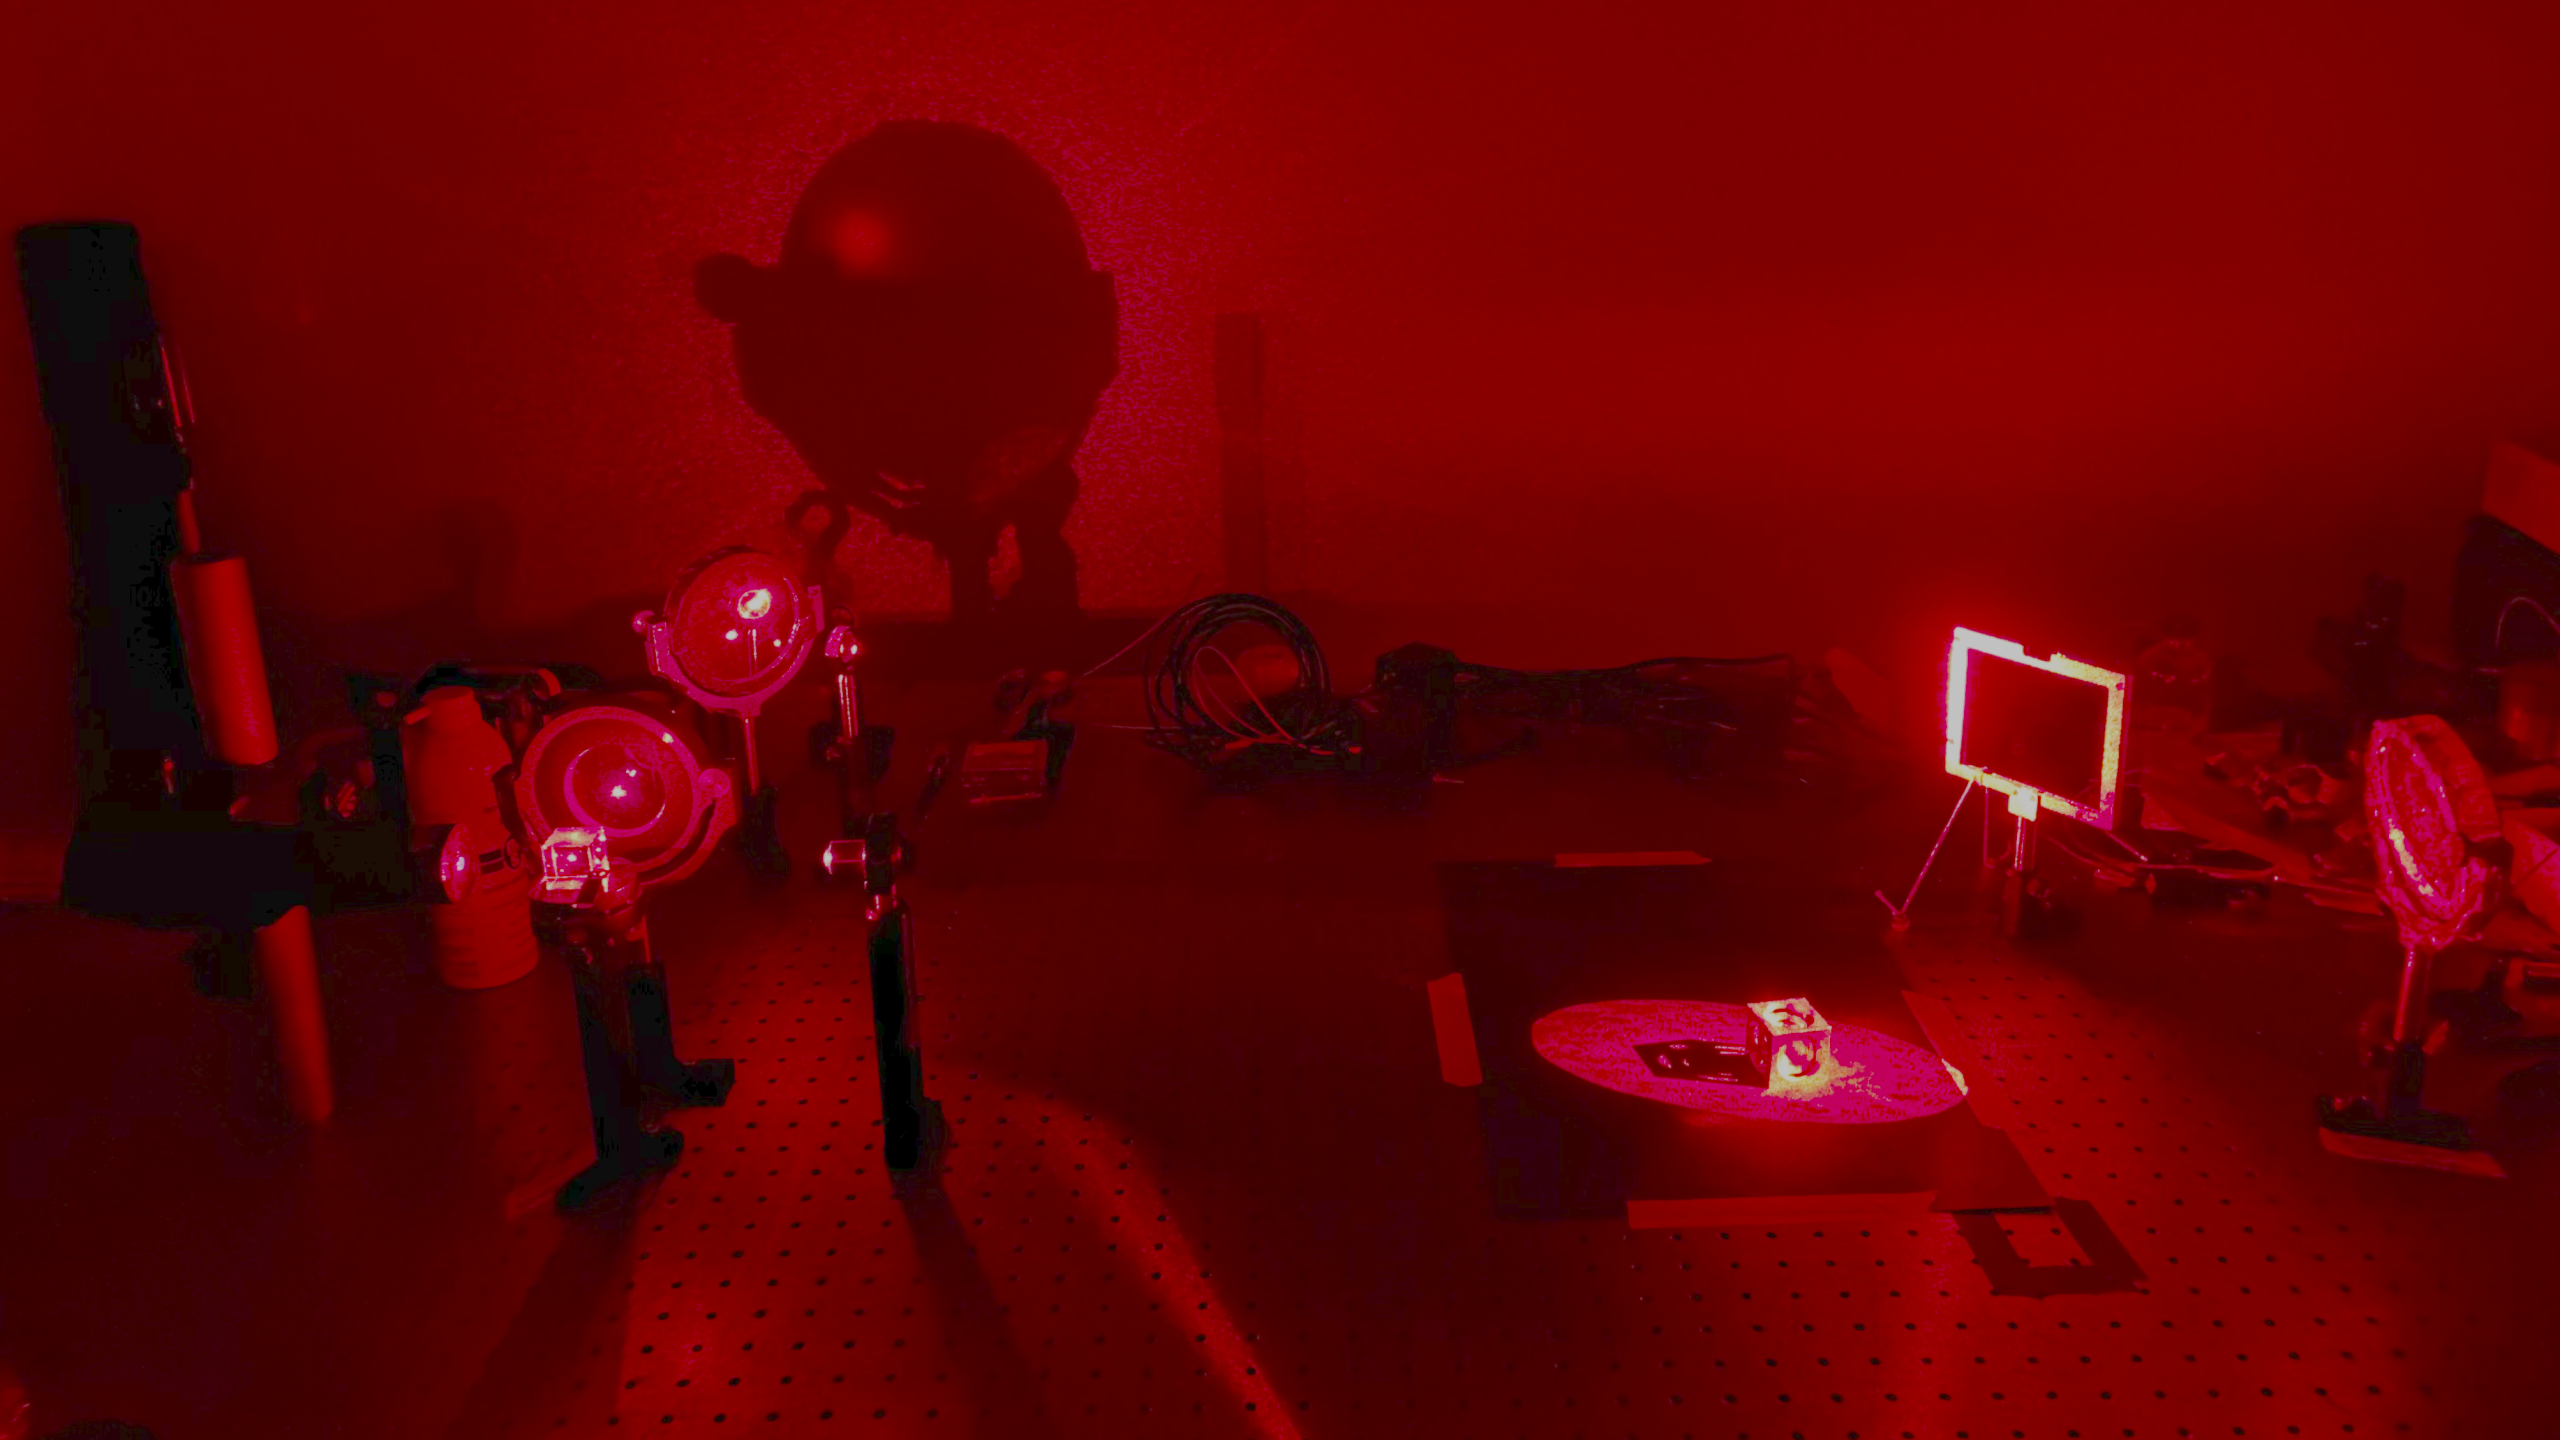
After we determine the optimal exposure time, we will move on to a more complex setup. We could continue with this one, but we believe that the holograms we make with it will not have sufficient depth, since the film is resting directly on top of the object. This setup, shown in Figure 2, uses a non-polarizing beam splitter to split the light into the reference (reflected) beam and object (transmitted) beam. An additional mirror and two converging lenses divert and spread the light onto the film. The more complex setup should achieve better depth and resolution.

During exposure, the emulsion side of the film must face the object being imaged (with a wet finger, lightly touch the corner of the film to determine which is the tackier and thus emulsion side). The whole experiment — exposure, development, and viewing — must be done completely in the dark to avoid unintentionally exposing the film.
Method
Simple Setup
Parts List
- Helium-Neon laser (633 nm, 10 mW) with Newport mount
- Microscope objective (8 mm, 0.50, 21X)
- Unexposed red-sensitive film
- 9.5 cm diameter mirror
- Black paper and tape
- Film holder
- Shiny objects
- Optical hardware (posts, bases, etc.)
- Shutter
- Light-resistant film box
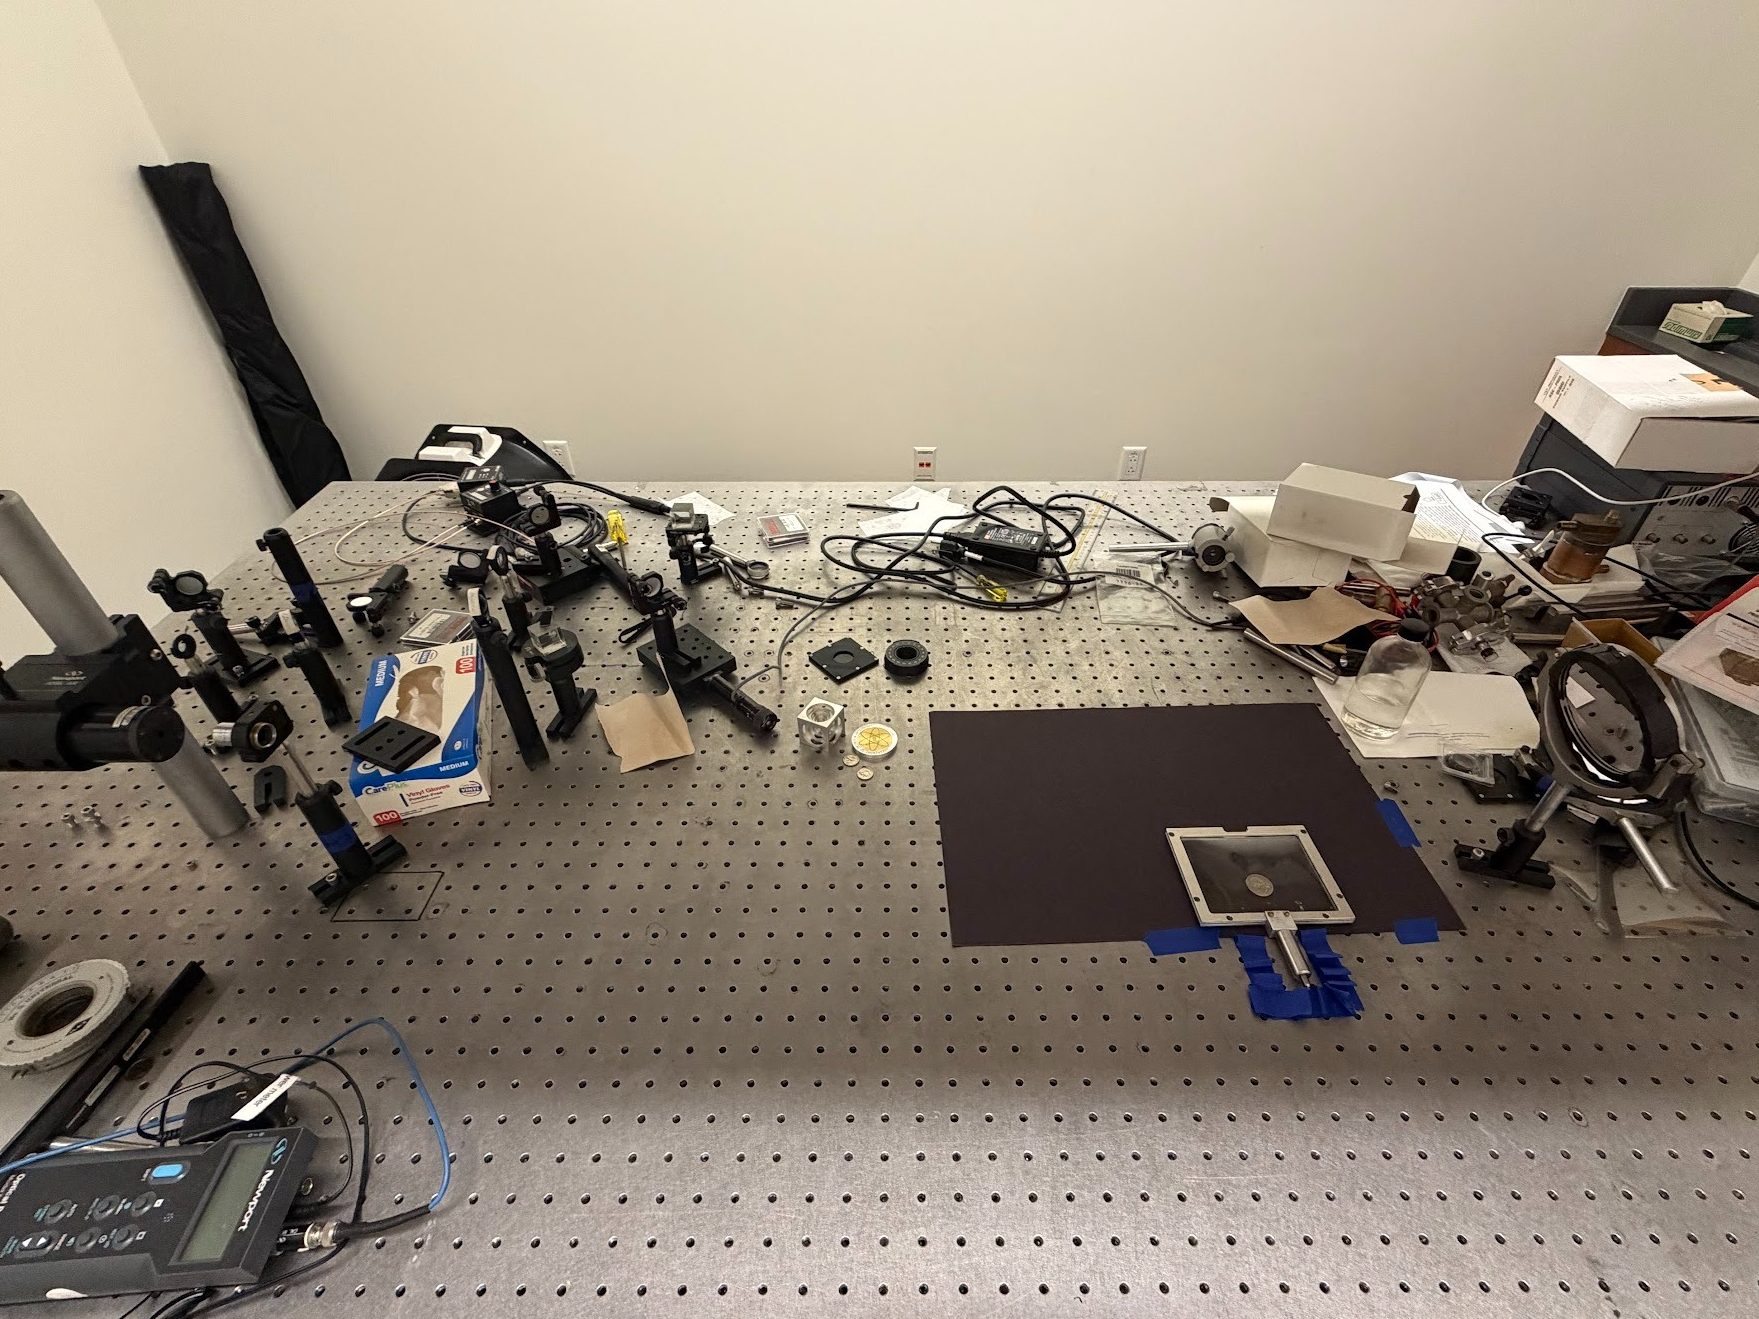
We began our process with this simple setup. We started out by testing a quarter, exposing the film at 3, 10, 30, and 100 seconds to get an idea of what exposure time we needed for the hologram. We didn’t see anything at 3 or 100s, saw a sliver of the coin’s side at 30 seconds, and saw a bit more of the quarter at 10 seconds. We concluded that the exposure time was around (but a bit above) 10s.
We added two dimes for our second test. This time, we exposed the film at 8, 11, 14, 17, and 20 seconds. The 14-second exposure looked great! We didn’t see anything in the 8, 11, 17, or 20-second films (although the latter two exposures might have had shutter issues). We concluded that the exposure time was about 14 seconds.

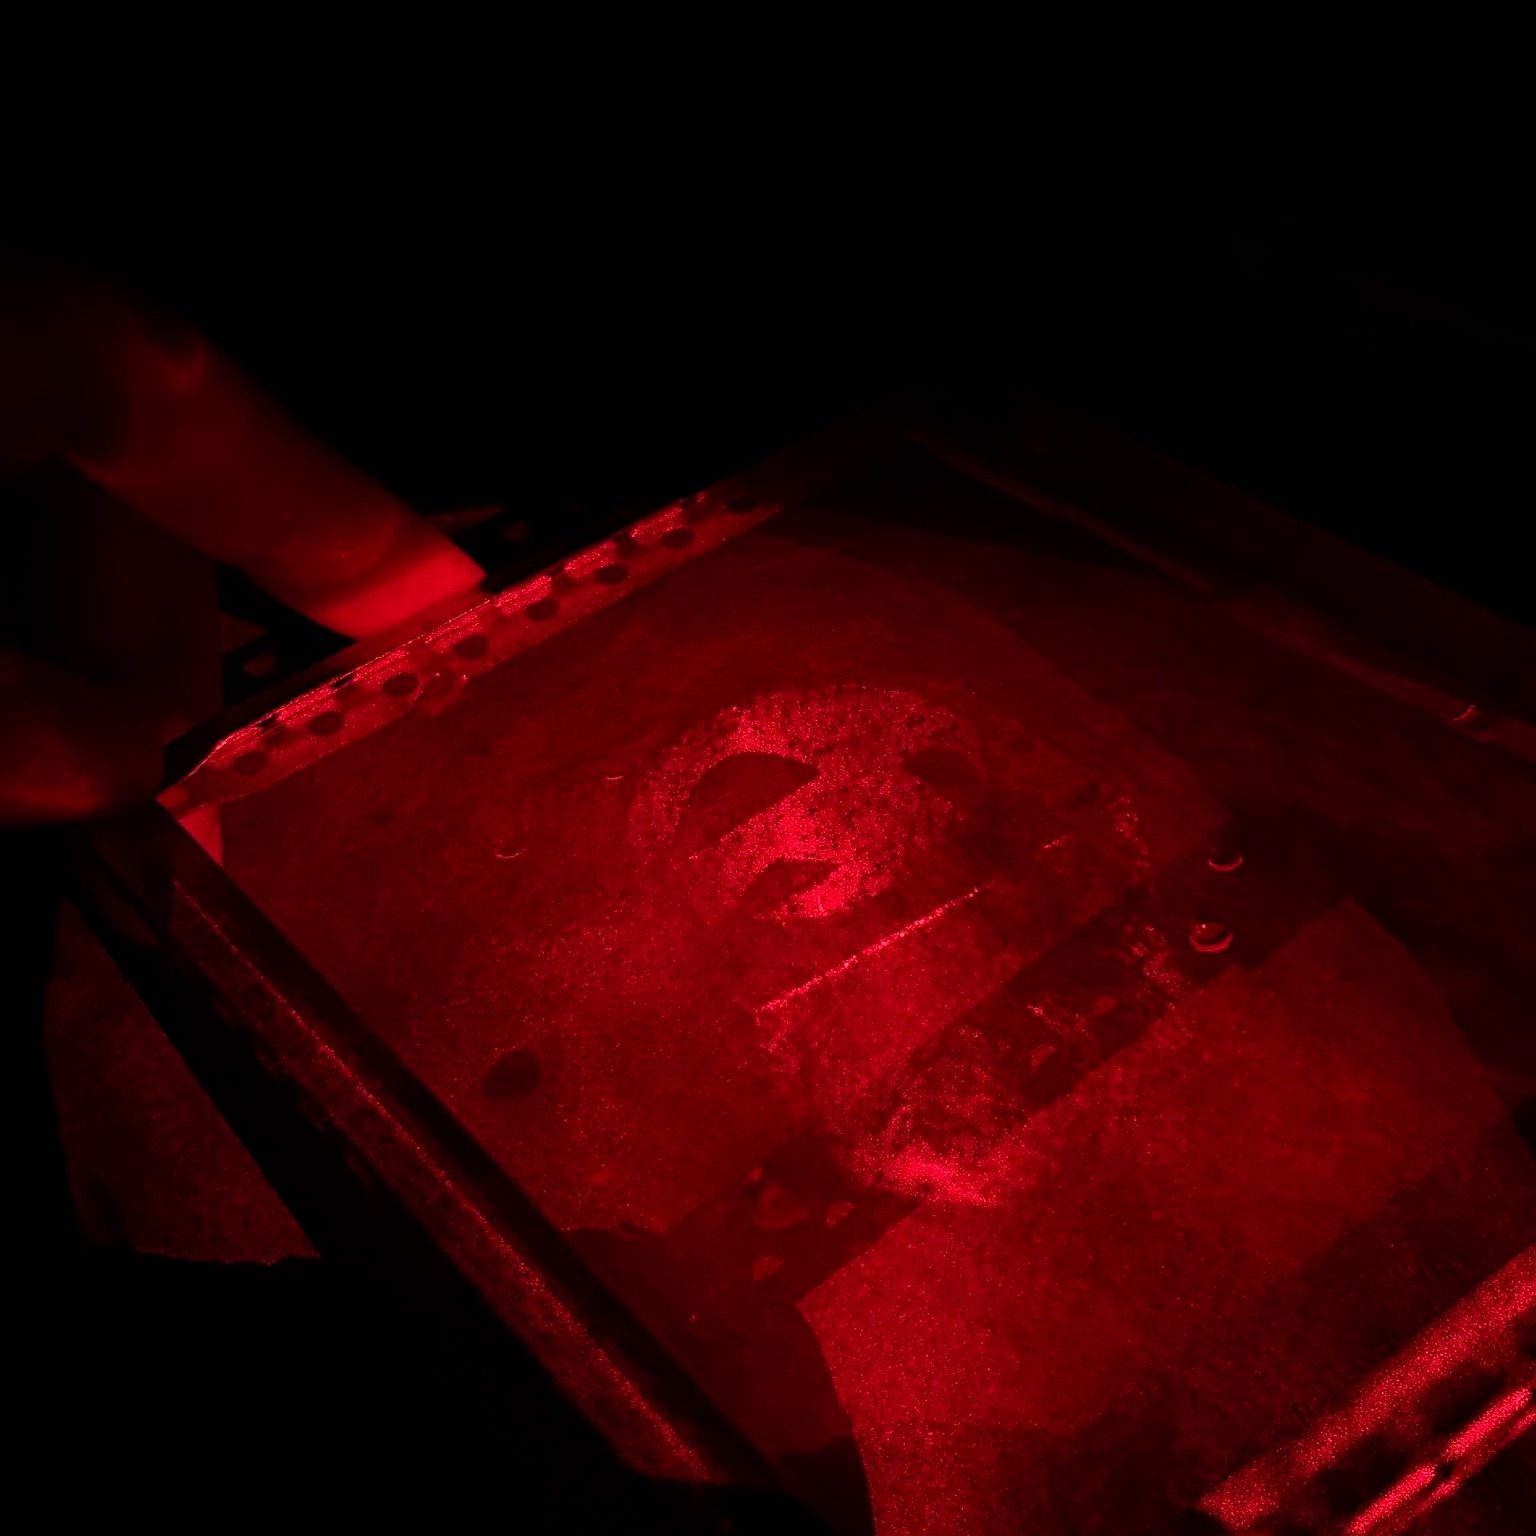
For our third and fourth tests, we imaged Charlotte’s Junior Lab coin and a miller’s cube using the 14-second exposure time. After developing the film, the holograms looked decent: they have good depth, but not great resolution (an example picture of the miller’s cube hologram is shown in Figure 5). Now we want to see if we can get better results with a more complex setup.